

Do you have a business and want to create a website as your calling card? Do you have a great idea for a blog? Do you want to increase your online presence? Certain websites like to give complex instructions on the website production process, but I am here to give it to you straight, NO CHASER. Creating a blog or website is all about planning, organization, creativity and vision.
THE TIME IS NOW! LET’S START A BLOG!
THREE STEPS AT A GLANCE
A. CHOOSE A DOMAIN NAME AND HOSTING PROVIDER
B. INSTALL WORDPRESS
C. DESIGN YOUR BLOG

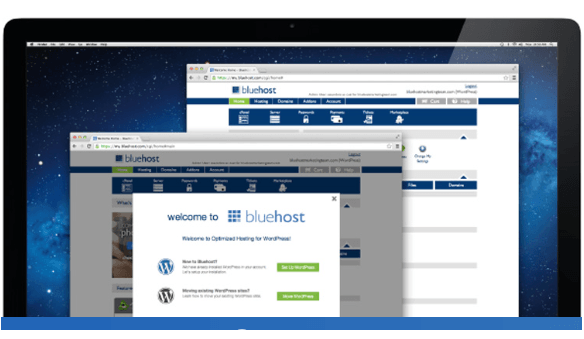
Starting your own WordPress blog is not only simple, but you are sure to have lots of fun on your journey to be the next top blogger! Using Bluehost will make this process even easier and allow you to create a WordPress blog in less than one hour. The steps to get started can be seen below. You can also visit the Bluehost-page to get a jumpstart on starting your blog!

DOMAIN NAME AND HOSTING
Choosing a domain name for your website is such an interesting and fun experience. Some people are able to choose right away and others (like me) may go through an endless stream of words to come up with a domain name that suits their preferences.
EXAMPLE: My domain name is ericadallas.com.
Make certain that no one has already chosen the domain name before claiming it. I like to perform a Google Search with parentheses to see how popular the name is or if I need to go back to the drawing board. Word of advice: Keep your name short and memorable, avoid using numbers or abbreviations, and use “dot com” (not .biz or .net etc).
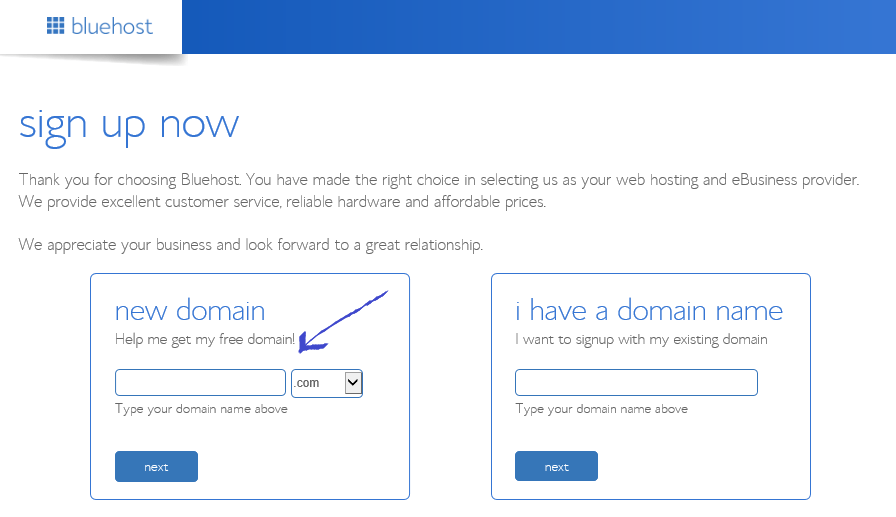
Once you have a list of potential names, and then visit BLUEHOST to check on the availability of the domain name by entering the word or phrase in the box. Here is an example:
CHOOSE YOUR HOSTING PLAN
Next, you will need to host your domain name. Your host is the link that ensures your domain is connected to the Internet. It is essentially the house in which your domain lives. The three types of web hosting are as follows: (a) Shared, (b) Dedicated, and (c) Cloud. I included a small screenshot of the account plans that are used and what I recommend. BLUEHOST gives you descriptions of each package and its uses.
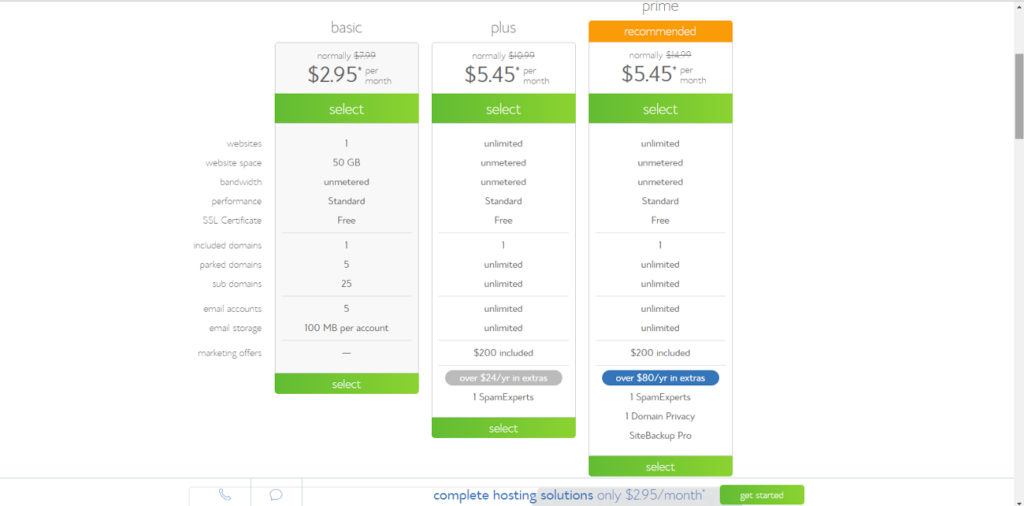
The rates at BLUEHOST are competitive and can not be beat! Added to that, they offer the domain name for FREE if you choose to host with their company. When you are first starting out, you want to keep costs at a minimum and this gives you the opportunity to do this and more!
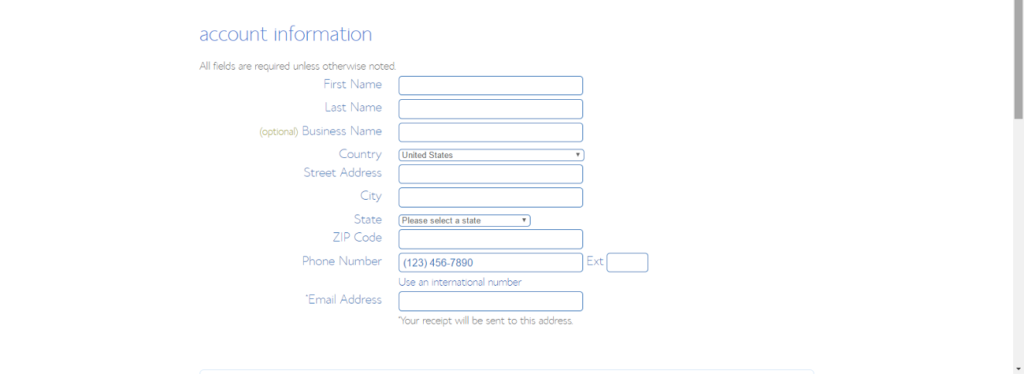
Below is a screenshot of the preferred package information settings.
The Domain Privacy Protection is necessary because you want to protect your personal information (address, phone number, etc.) from the public.

SEE HOW EASY STEP ONE WAS? SUCCESS!


Following your registration with Bluehost, the next step is to install WordPress.
WordPress is a powerful, flexible, and easy to use method of maintaining and creating your website. Basically it is the way you will manage your content whether it is using a static site or blog. The install is a breeze and takes no time at all.
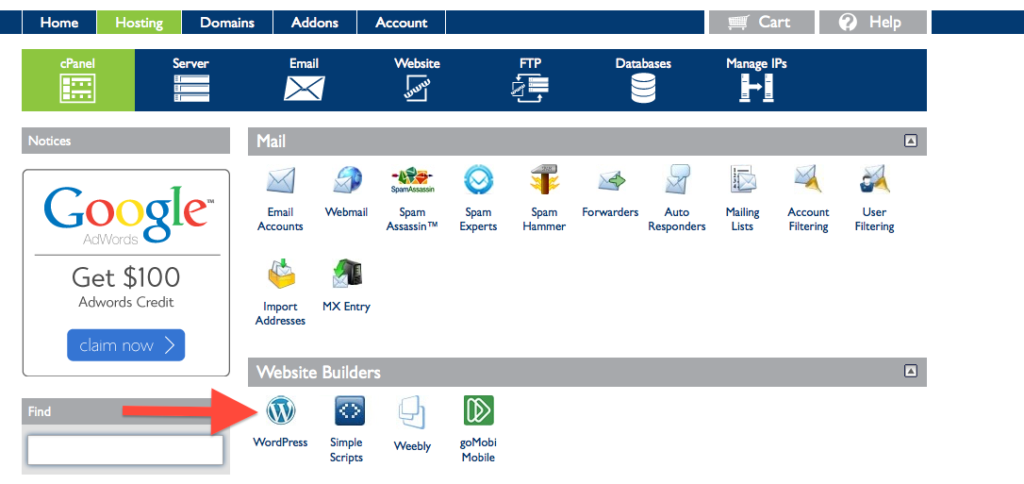
FIRST, log in to BLUEHOST and scroll until you spot the Software/Services section of the main page. Look for the WordPress logo and click it.
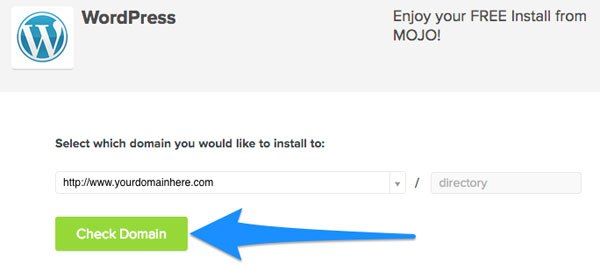
The next page will give you the option to install, so click “Install (a brand new version)”.
Find the ‘Check Domain’ button and click it to proceed.
Next, Check the terms and conditions box and then click the “Install Now” button. Once you spot the “Installation Complete” signal, grab a notepad and write your username, password, and login URL for future reference. Keep copies in a few places so that you will not forget this important info. You can change certain info to something you can remember at a later time. However, you will need that to log in the first time.
NOW,
Go back to the WordPress homepage to gain entry into your website dashboard. Type your Admin URL into your web browser. You’ll see a login screen like the one below. Enter your Username and Password you copied down from the previous step.
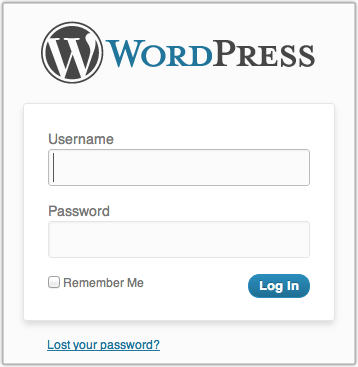
STEP TWO IS A SUCCESS. YOU HAVE LOGGED INTO YOUR BLOG! IT’S OFFICIAL!

Congratulations! You are the proud owner of a website or blog! Yeppieeee! Do you feel official! It’s an awesome feeling.
At this point in the process, you are ready to begin sharing your creativity and gift with the world.
This step is by far my favorite because I enjoy the design process. I can literally spend hours picking themes, but perhaps you are more decisive than I am (hehe). WordPress offers dozens of beautifully designed themes suited to your preferences. I’ve tried several for other projects or blogs I worked on.
My favorite types of themes are the premium themes. If you are looking to take your website or blog to a whole other level, then check out the list below:
- Themeforest Themes – I currently have quite a few themes from Themeforest (I have other websites besides this one) and as you can see, it is very versatile and has lots of cool features. The customer service is excellent!! Also, you are given tutorials and other tips to guide you along your journey. And the forums are extremely helpful as well.
- Thesis Theme – The Thesis Theme is certainly popular and you can check out their site to see why! If you are a newbie who wants a simpler way to design your site, the Thesis Theme will be perfect for you.
- Genesis Framework – Choosing Genesis will definitely make your blogging experience easy to operate. Check out the StudioPress Themes as well.
- Elegant Themes – I’ve seen some magnificent sites using Elegant Themes! In fact, one of my future sites will be using this theme for sure! They offer a multitude of creative layouts and the price is certainly affordable and worth it.