Bringing a space to life through design and décor is truly one of my greatest pleasures. A vintage vase with fresh flowers, an abstract painting, a plush pillow all can transform a space. It was only in the past few years that the thought of using wallpaper crossed my mind. Thanks to visual platforms like Pinterest and Instagram, the world of interior design has given me the opportunity to see and experience spaces with a fresh outlook. That inspiration led me to my current bathroom décor project. Let’s be honest. We spend at least 2-3 hours per day in the bathroom. Aside from the bedroom, its one of the most intimate spaces that human beings use daily. I normally decorate the bathroom like most people. A flashy shower curtain, metallic sink materials, a functional carpet, and a statement piece on the walls. Not bad, right?
Well, for me, I felt something was missing and it wasn’t until being inspired by super creative and talented interior designers on social media, that the light-bulb came on. I knew instantly that I wanted to transform this very old bathroom into a space that was a bit more inviting and served as my own personal self-care haven.
I aspired to make changes that were more stable, because with my penchant for decision making (aka indecisive), I was already switching up bathroom décor twice a year. Yes. Twice a year, I’d buy all the things. Something had to give.
Insert the incredible Milton & King.
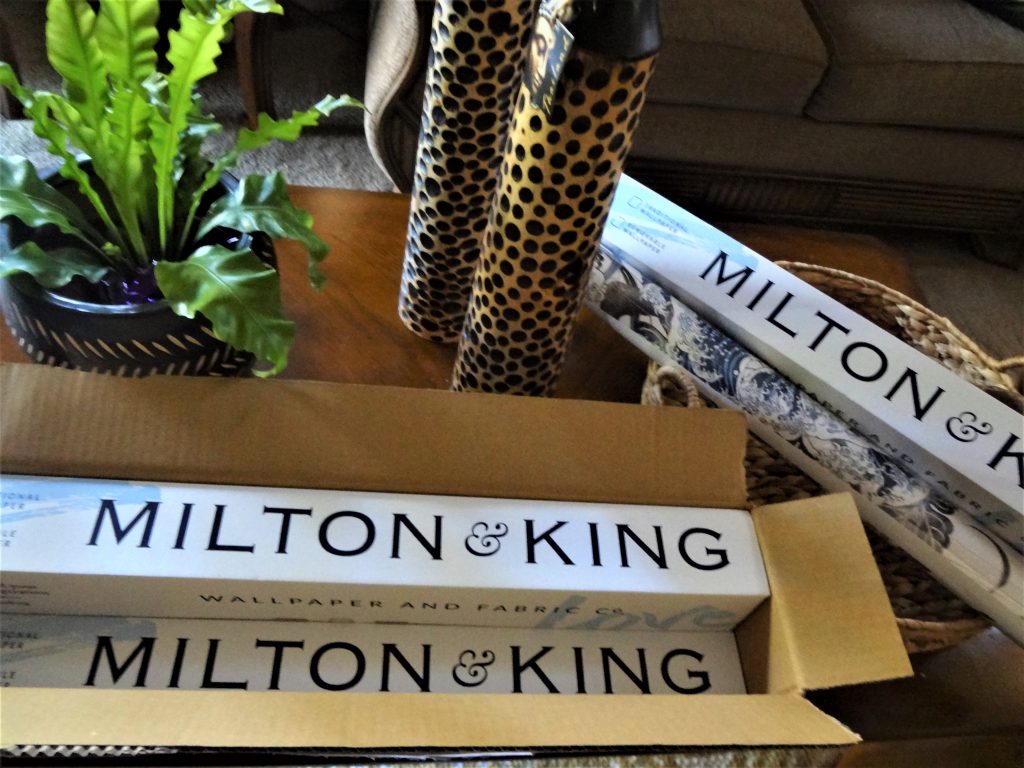
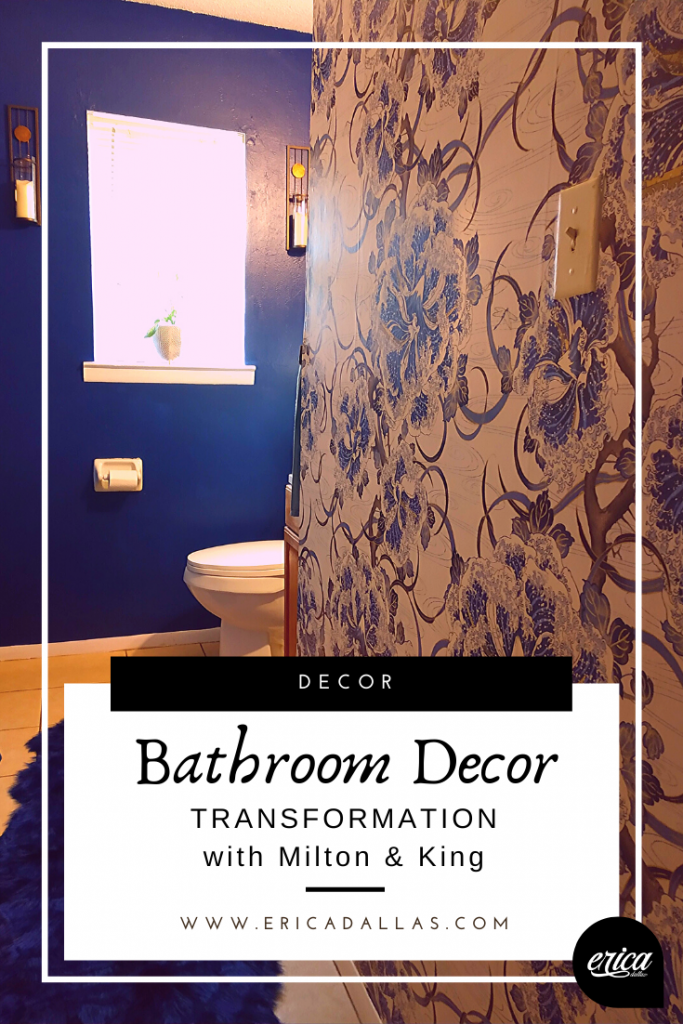
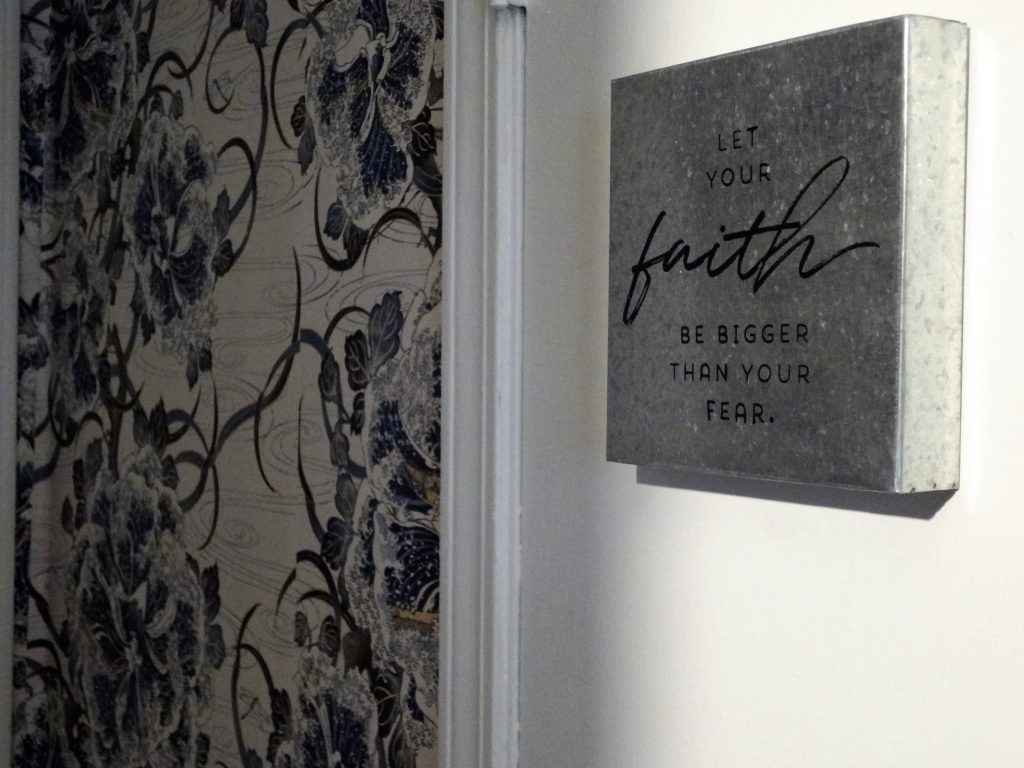
I searched Milton & King’s website for the perfect wallpaper for my bathroom and found this beautiful blue Japanese-inspired wallpaper called Great Wave Bloom. It is a bold print wallpaper design featuring ocean waves in the shape of large florals.
The Great Wave Bloom Wallpaper is described as “a Japanese wallpaper celebrating the essence of the Ukiyo-e movement, an inspired intermingling between the stunning Japanese art of Ikebanaa (flower arrangement) and a captivating re-imagining of Hokusai’s iconic yet timeless “The Great Wave off Kanagawa.” Cheers to celebrating the beauty of Japanese culture!
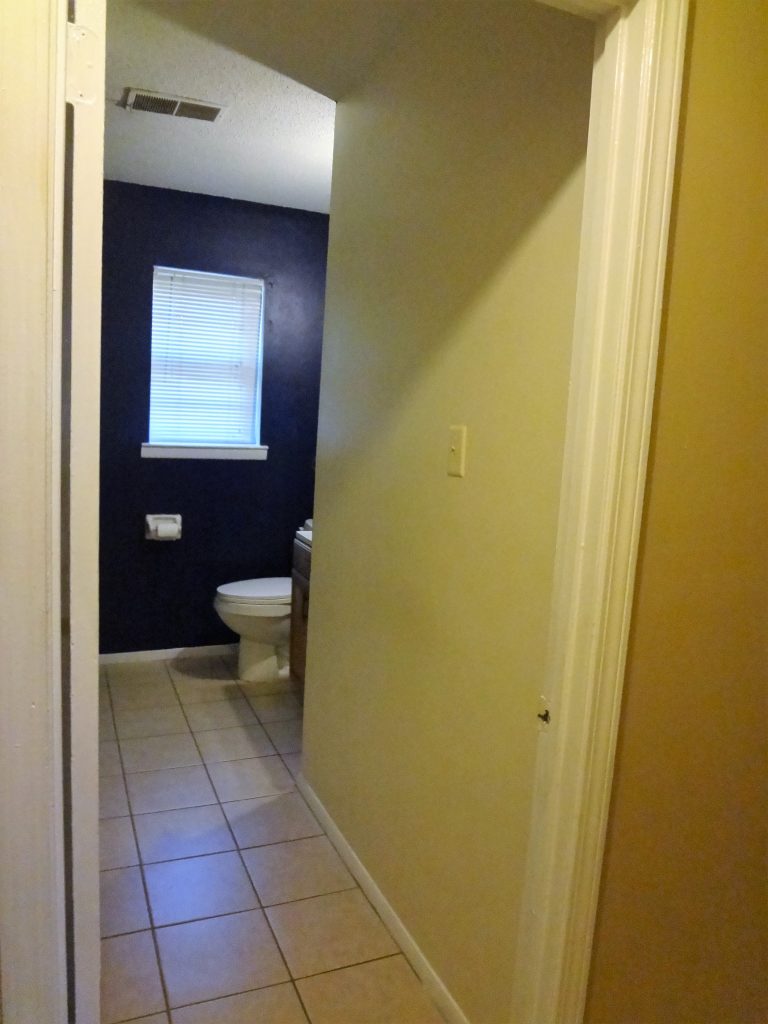
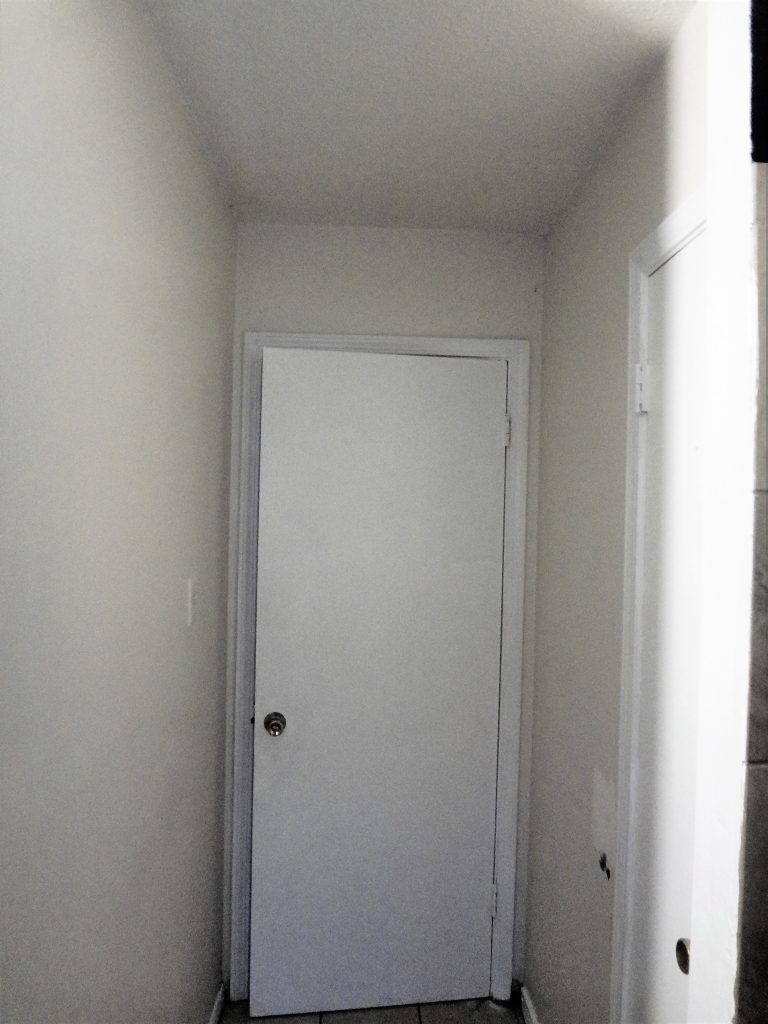
THE BATHROOM: BEFORE
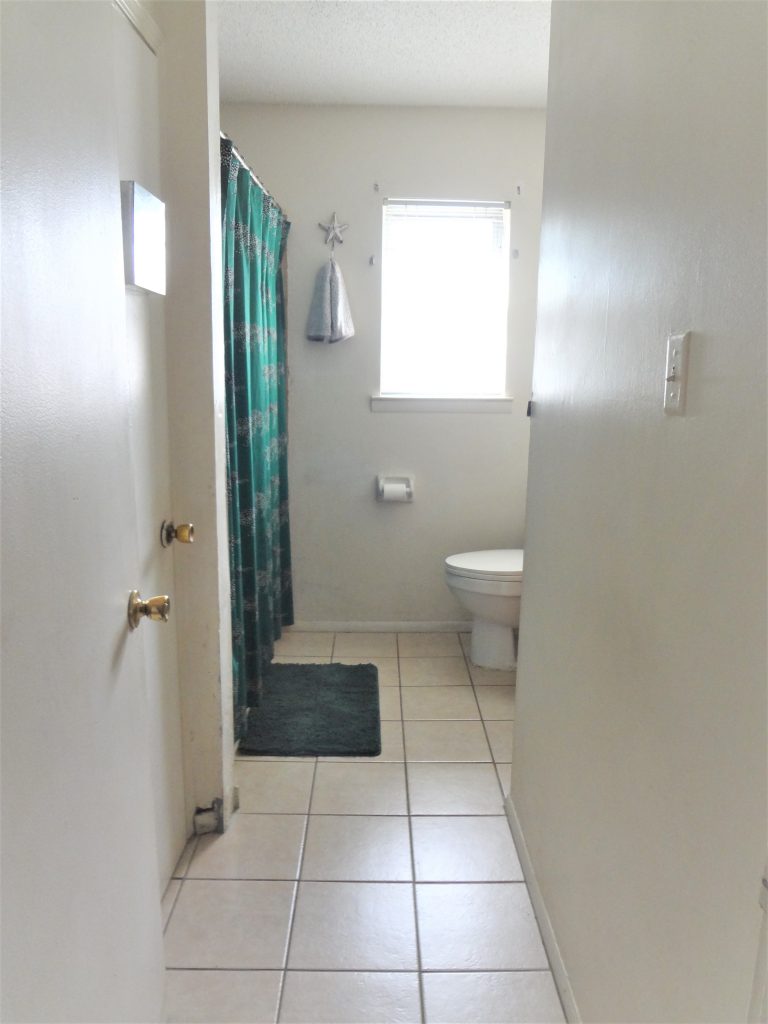
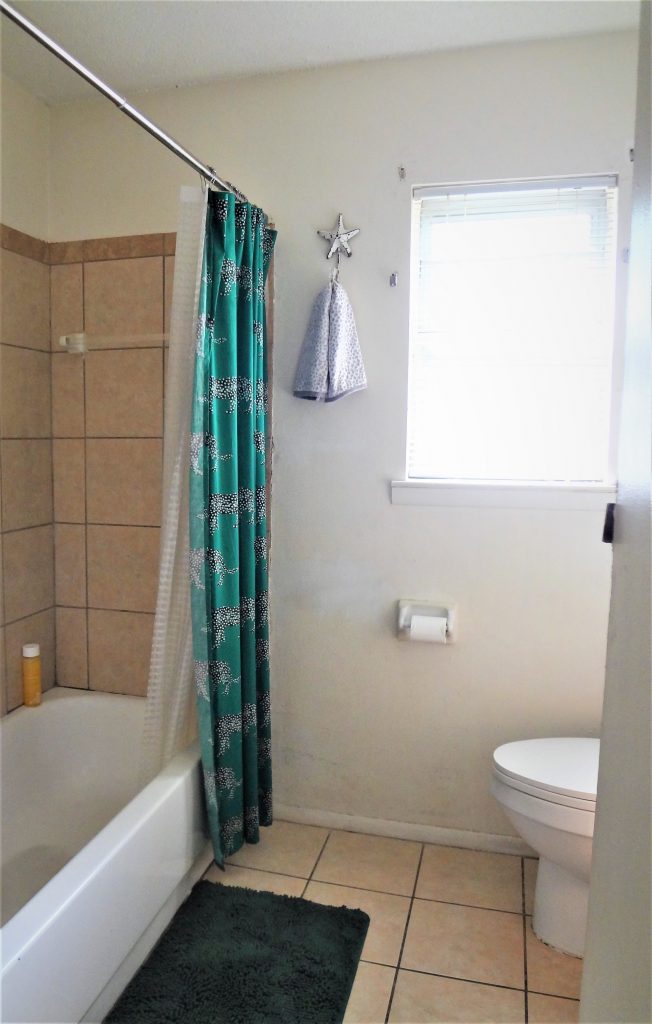
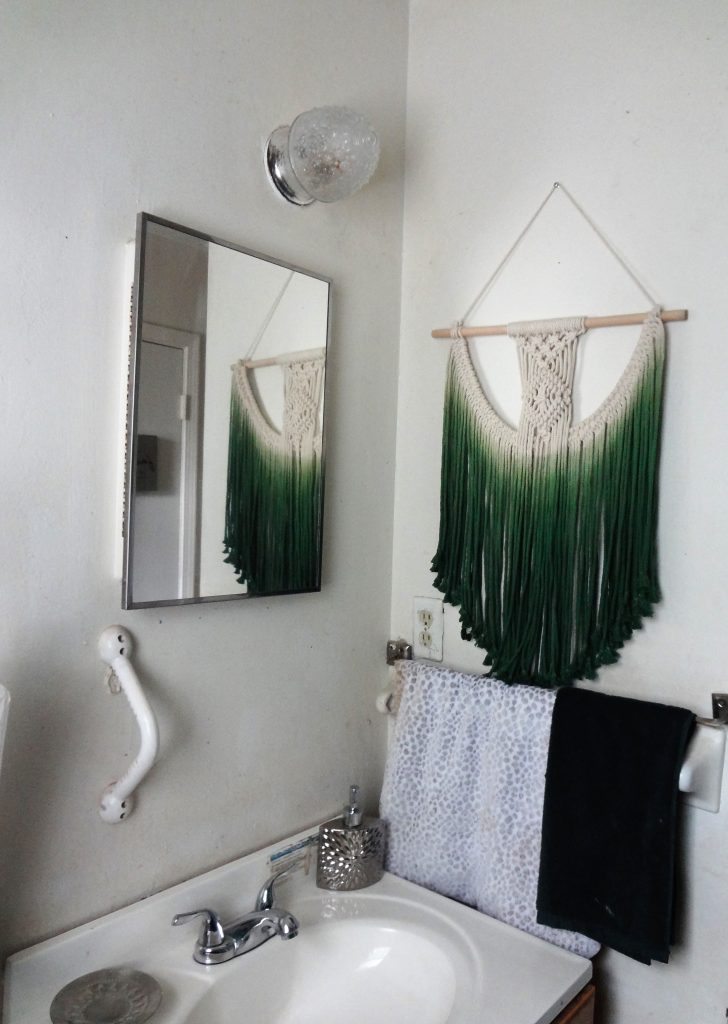
Because this house is quite old, it definitely has a weathered look to it. The walls are textured and the space definitely could use a full renovation. The bathroom space has a mini entryway that leads to the main area. Because of the condition of the space, I knew I would experience a few challenges, but I was up for an improvement. If it was up to me, I’d have completely gutted the area and started over, but my plans did not call for that at this time. So, a few simple changes were in order to at least moderately transform the space.
BATHROOM WALLPAPER RENOVATION: THE PROCESS
I’m going to make a confession. I had a bit of anxiety surrounding this project. I knew the structural challenges going in, but wanted to keep an optimistic outlook because let’s face it – nothing is impossible to fix. So, I quickly snapped out of it and let the plan be my guide.
My initial idea for the space shifted once I was able to see a few samples and make sound decision about which wallpaper I wanted to use. To be honest, I loved them all! I spent quite a bit of time perusing the website to see what Milton & King had to offer. You will be impressed with the variety of styles that they carry within their store.
TIP: Purchase samples beforehand to get the real visual of how the wallpaper would look in your space before committing to a print.
TIP: Grab measuring tape (a professional roll) and document the actual dimensions of your room (width and height of each section)
So, in my excitement to get this wallpaper project going, I failed to really assess the level of patience, skill, and precision that it takes to get the job done. The bathroom has lots of spaces where there are tight spots in order to cut around the area.
Initially, the plan was to position this bold print wallpaper in the core part of the bathroom. But years of amateur painting rendered the walls to be too textured for the wallpaper. I was all for getting a sand machine in and going to town, but knew I’d need a team, the funds, and the patience for that type of work. I then asked myself, “What about the entryway?” I searched for inspiration but couldn’t really find many examples. However, I was determined that I’d be the example.
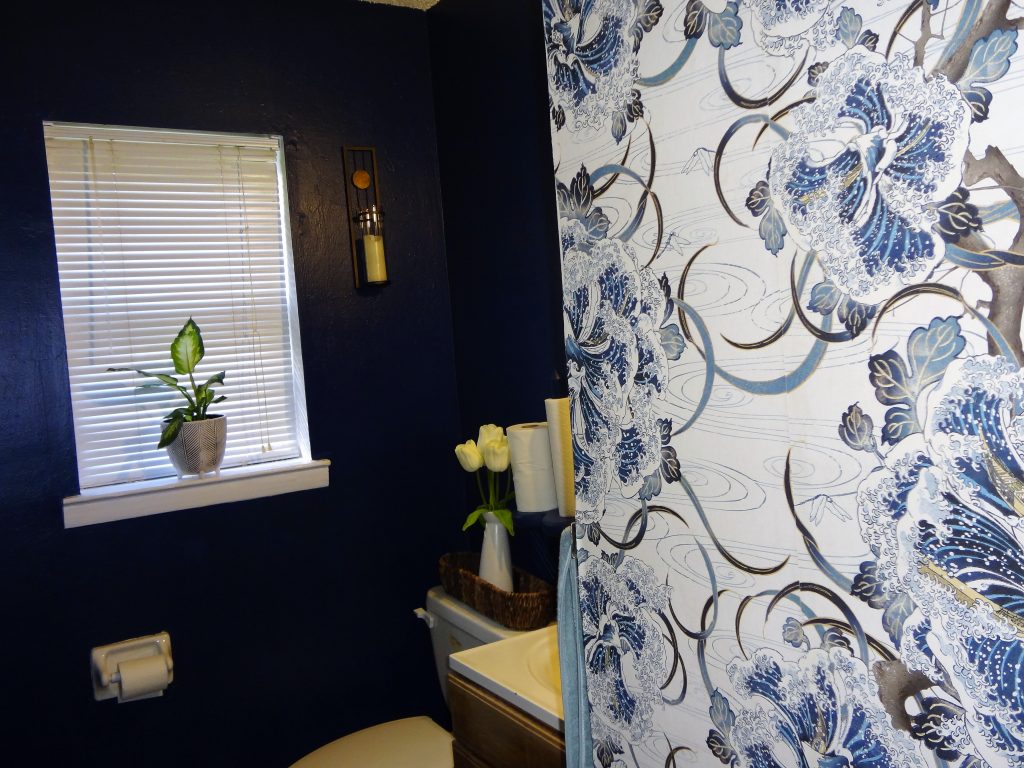
The core inside of the bathroom was painted with Behr Paint in the color Compass Blue, a vibrant navy color that can sometimes even look cobalt blue depending on the lighting effect. I originally chose the Behr Paint color in Skinny Jeans and after the painter put up a coat of it, I said “Nope!” So glad I made the choice to go darker, as it fits my moody vibes.
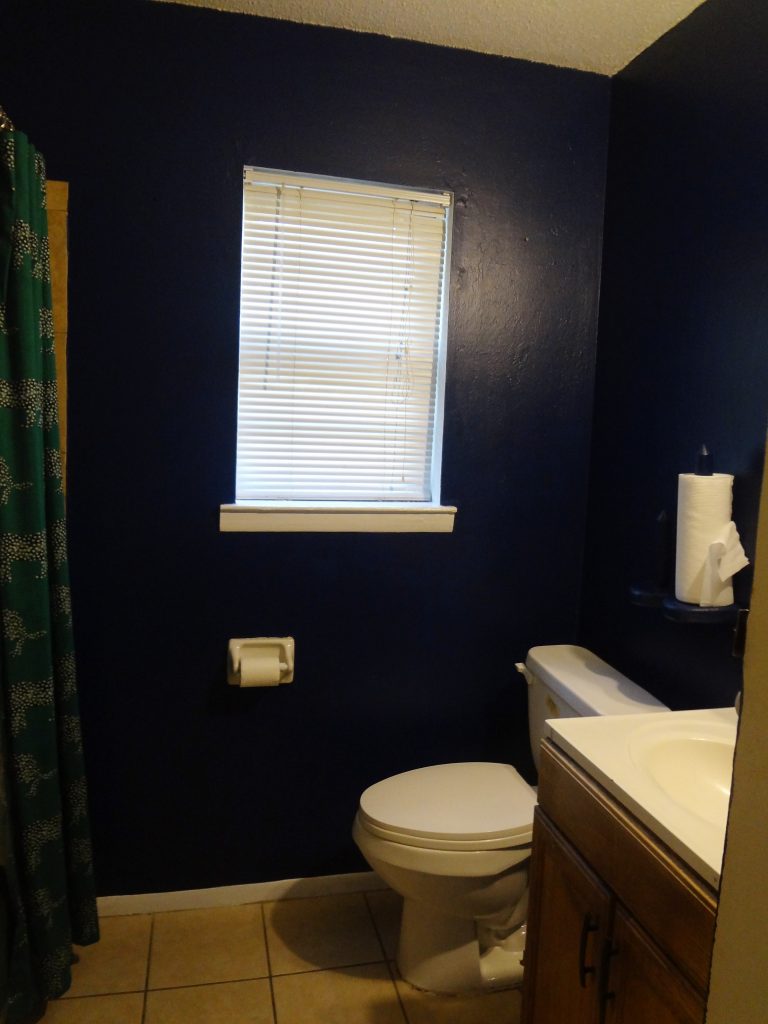
THE BATHROOM: NOW
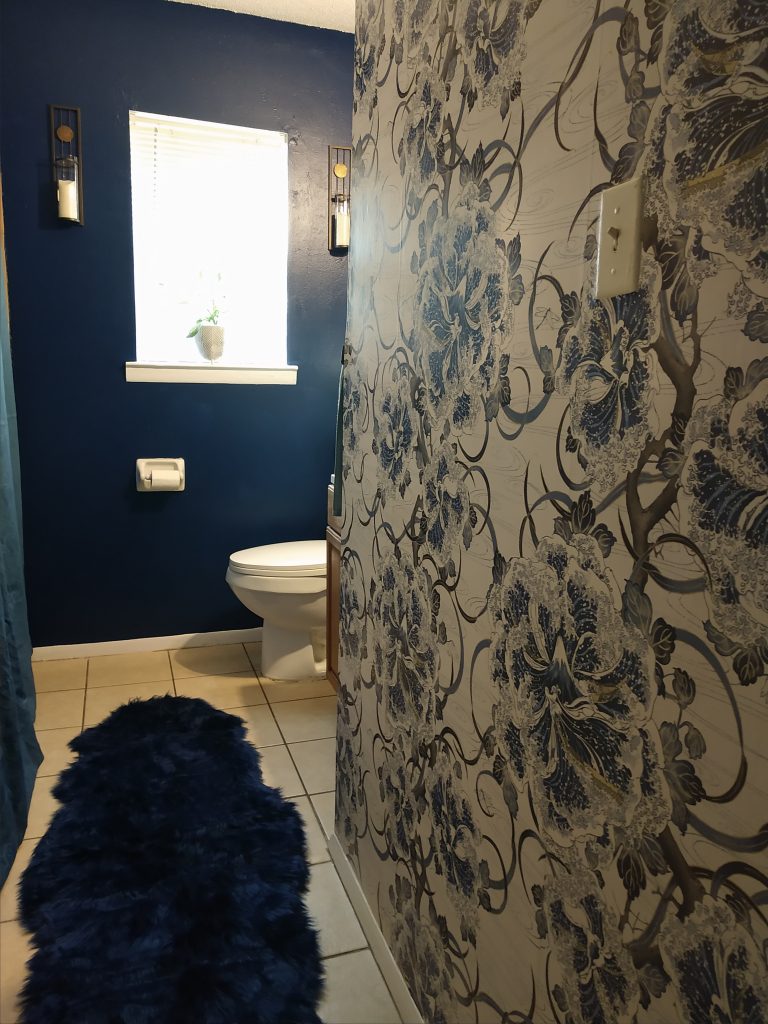
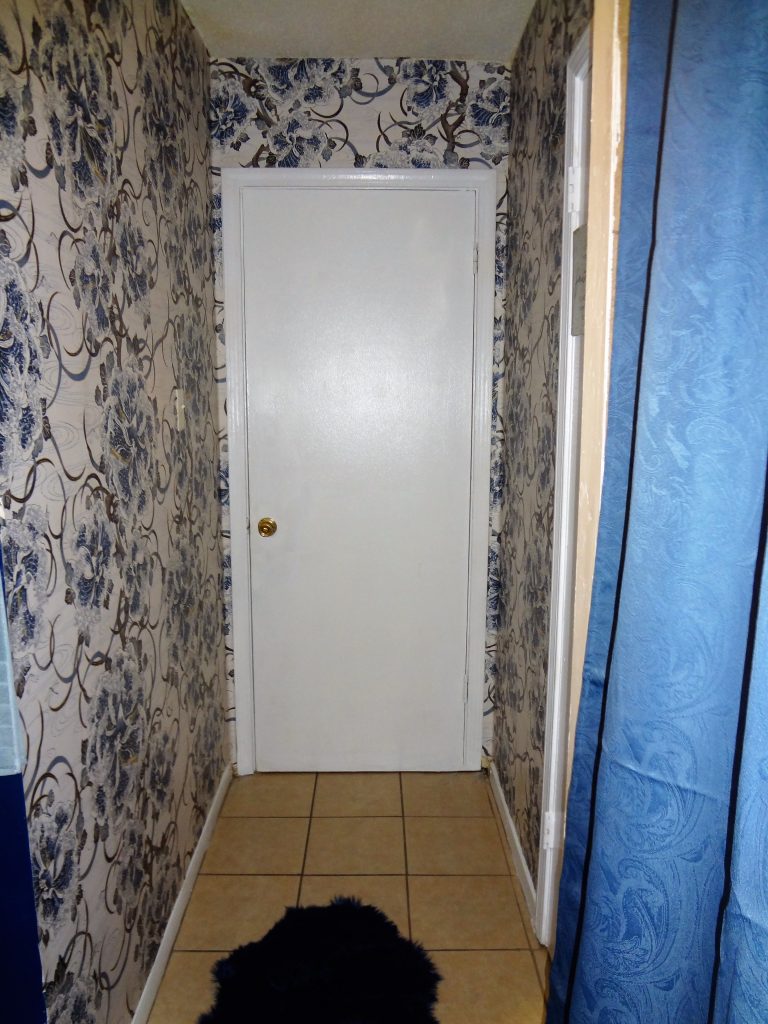
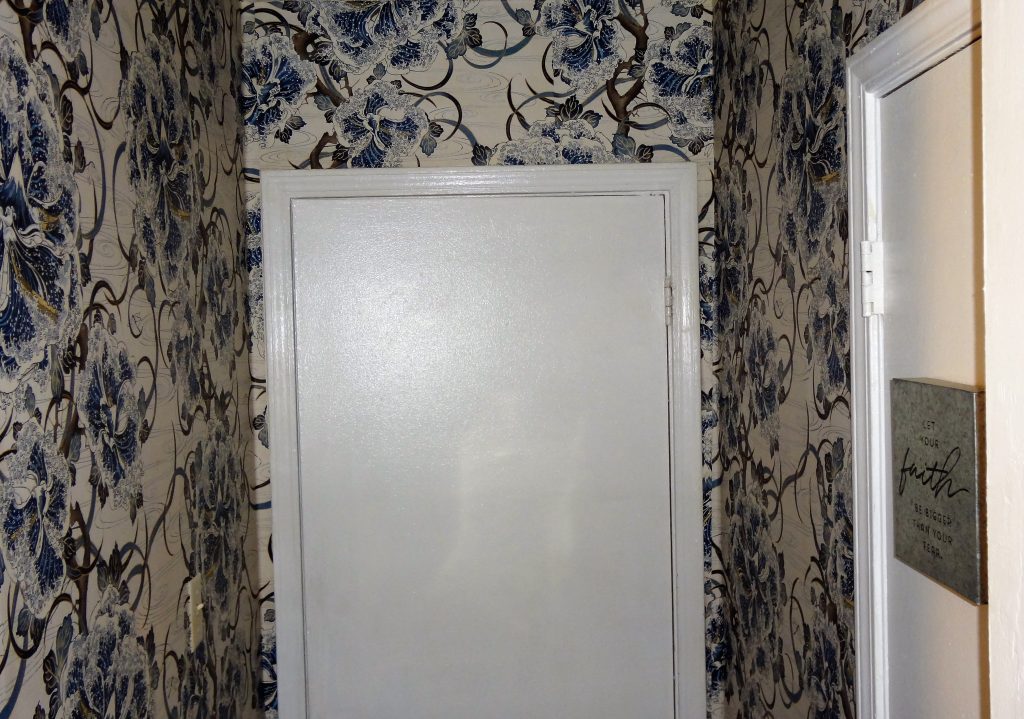
I got the harebrained idea to wallpaper the entryway by myself, and I definitely don’t recommend anyone take on a wallpaper project alone. Get at least 2 people to help out and preserve your sanity. Because my walls were also a bit textured, I knew that cleaning and sanding the walls would have to be one of the first things accomplished. The wallpaper I chose has a roll A and a roll B, which helps when trying to line up the pattern of the wallpaper with ease. I took measurements, made the cuts, used a paint roller and angled brush to apply the adhesive to the walls and then put up the wallpaper. This was an all-day job for me (around 8-10 hours) between taking breaks and filming shots etc. Once again, I’d advise you to bring on some help (or outsource if you can), pace yourself, and pay attention to detail!
Milton & King offers traditional wallpaper in a variety of unique and beautiful patterns. With traditional wallpaper, you have to use an adhesive to preserve the space. In my case, this was necessary because of the bathroom. For reference, I used two rolls for this space. I could have probably used another piece from another A & B roll (in case of mess ups), but overall I was fully able to make this work using two rolls of wallpaper.
RECOMMENDATIONS:
- If you have the budget, OUTSOURCE.
- Measuring and cutting with precision is the greatest skill you’d need for this project. If you can cut this wallpaper and line it up, you will be a champ and everything else is easy peasy.
- Always consider your full space before starting the project. Determine what accents or nails need to be removed or what parts will be covered in wallpaper ahead of time.
- Get an Exacto knife that works! Trust me.
- Ensure that your wall is prepped before applying any wallpaper. The last thing you want to do is have an adhere issue or even run the risk of having removal issues.
- Make a list of ALL the tools you need to get the project completed. Do this well enough in time to avoid store runs or prolong the whole project. I think that I went to Home Depot a total of 10 or more times and that is just nuts lol.
- Be patient. Be precise. Precision comes with patience. Put on some soothing music and get to work. I made sure to be off work and clear my weekend schedule in case I needed to take breaks.
- Make sure to avoid SPLIT SEAMS.
- A décor project of this caliber is best tackled with a team of 2-3 people. You always want someone to see the project with a different set of eyes. Also, you can cut down on the labor time.
LET’S TALK ACCENTS
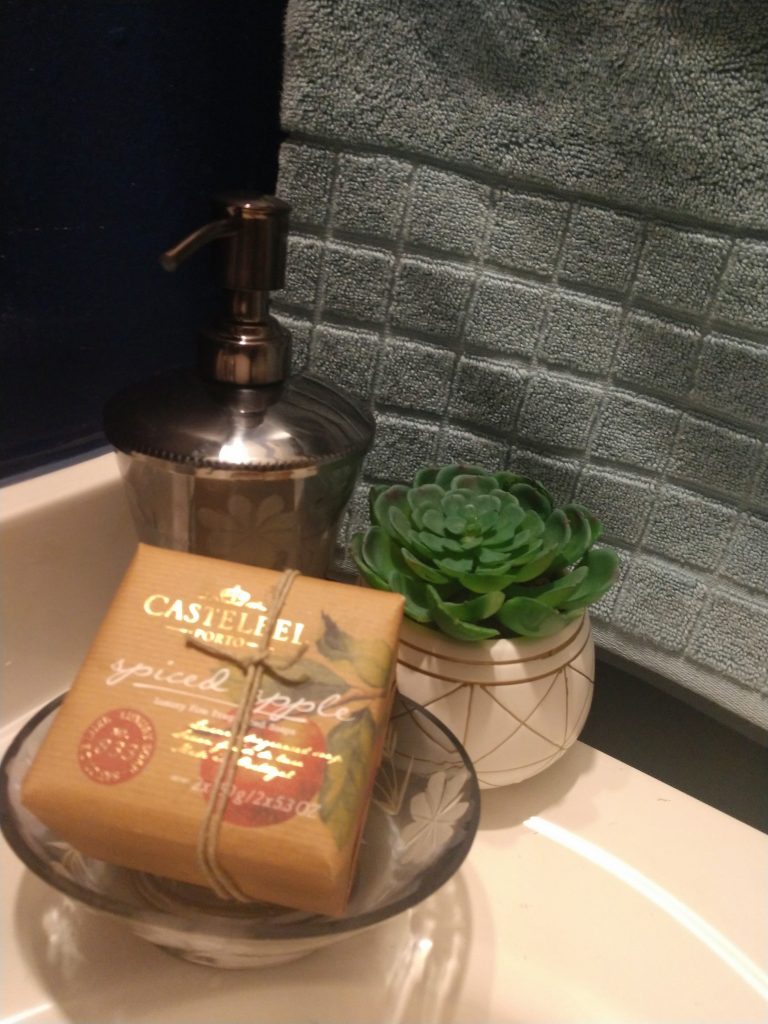
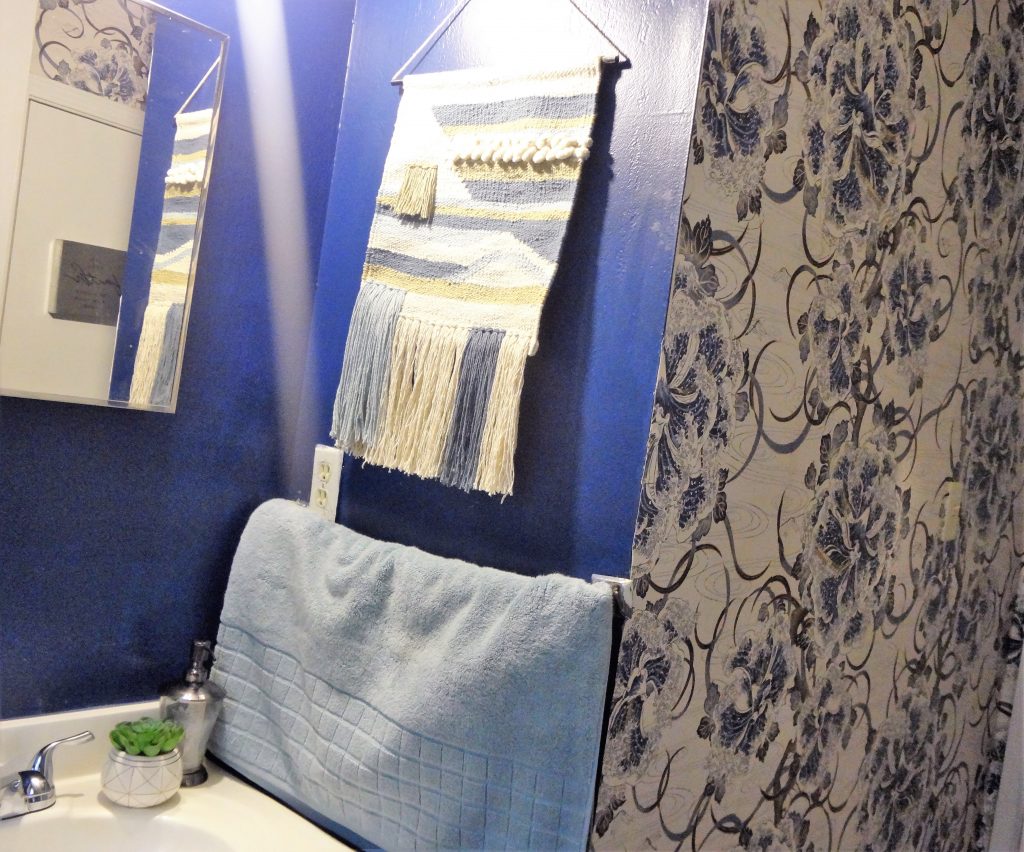
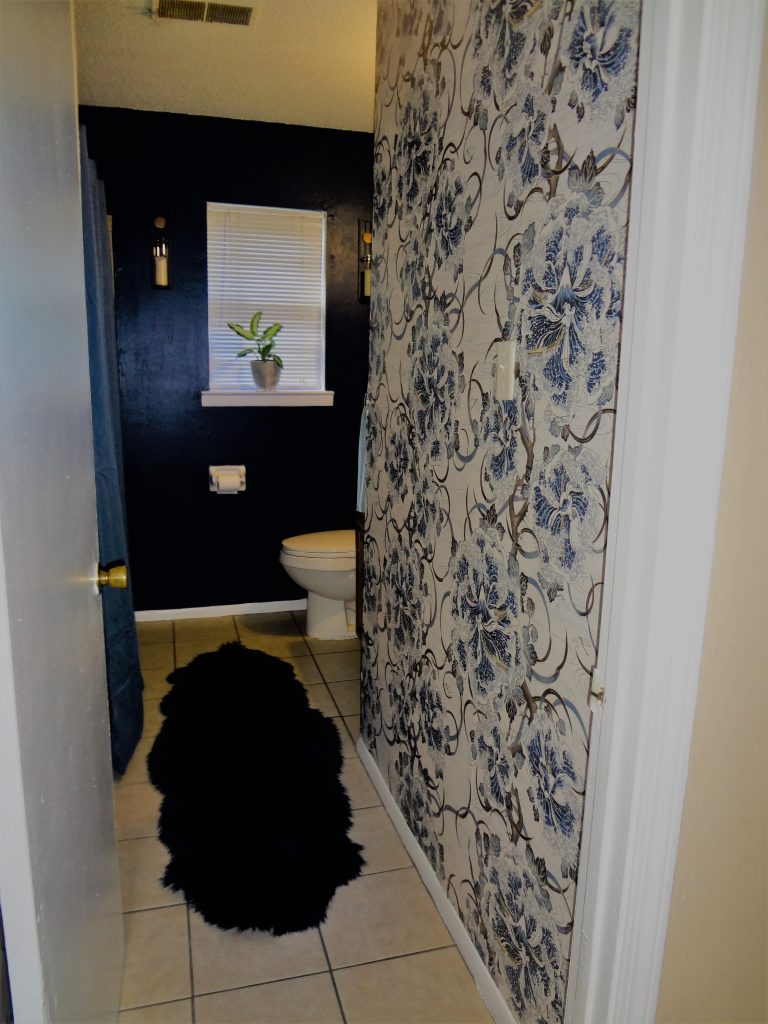
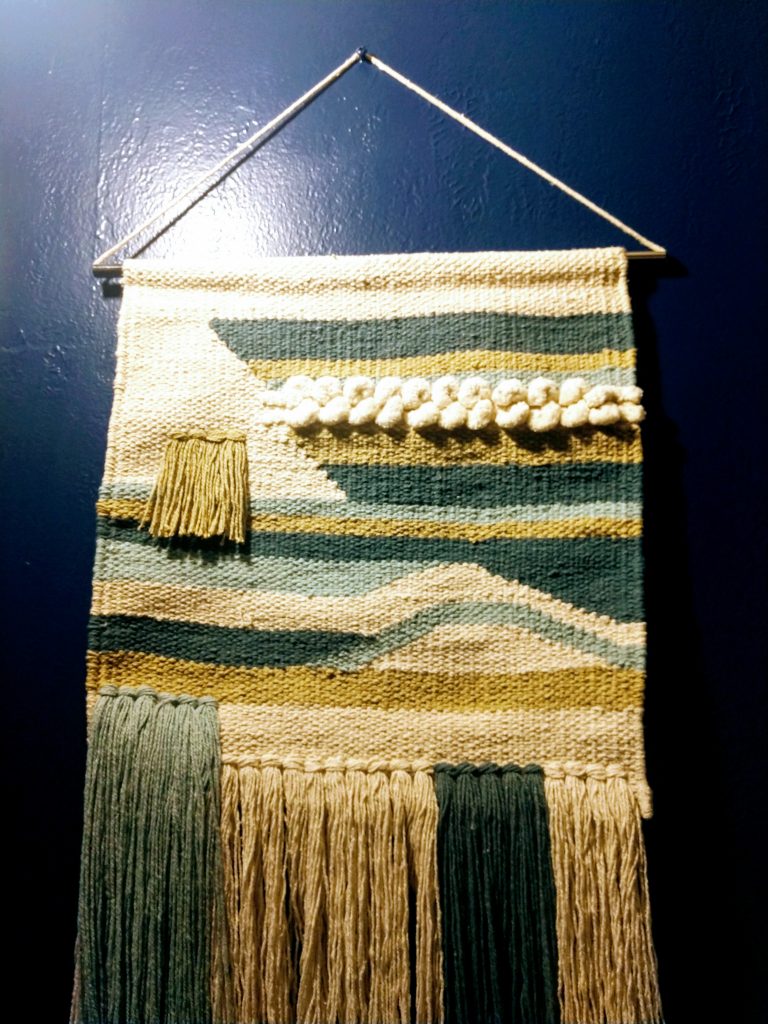
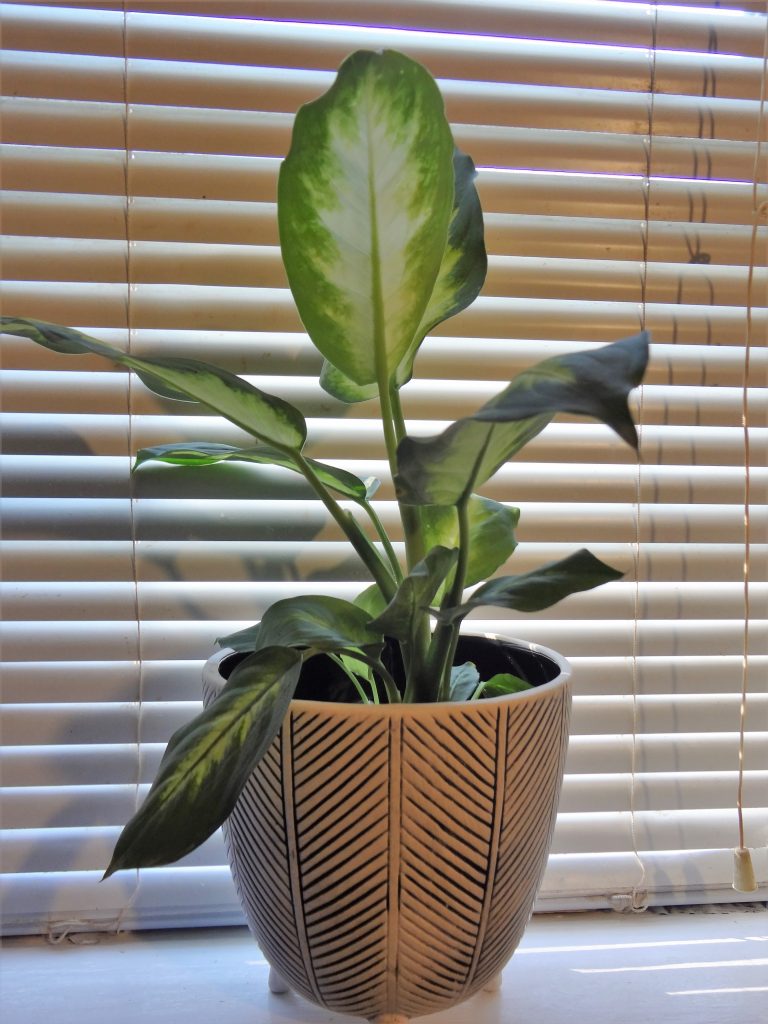
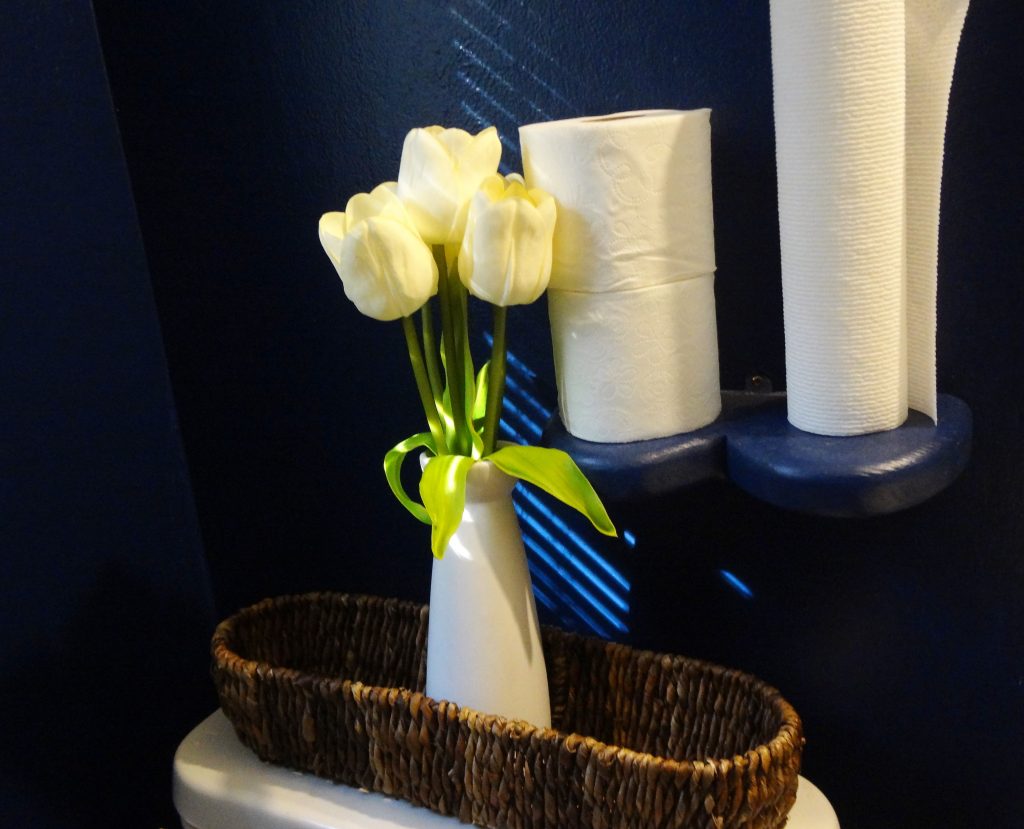
I purchased lighting sconces from The Light Society. However, when they arrived they were entirely too big for the space. Beautiful, but huge. I immediately scoured the web for thinner sconces, but wanted to stay within my budget. After agonizing over it, I came up with a much more cost efficient solution with these contemporary wall fixtures. They fit perfectly with the Japanese-inspired theme of the room. I also replaced the white (horrid) blinds with bamboo blinds from Arlo Blinds Co. One side of the wall looked pretty bare so I found a handmade bohemian fringe tassel banner to cover that area. I struggled with the shower curtain (purchased a few, but nothing looked quite right) and settled on this teal blue window curtain (yes, curtain) for the shower. I settled on a faux sheepskin fur area rug in navy blue, because the floors looked absolutely naked without an accent piece. I found the straw tray and the pewter gray sink dispenser at Ross for less than $10. I also purchased bamboo blinds to replace the white blinds, which will be installed at a later date.
Overall, this mini transformation took an investment of $500-$700, which was not bad at all. I saved on labor by doing it myself, and was very strategic with the items I wanted in the space.
To Milton & King: THANK YOU SO MUCH! Because of your assistance, wealth of knowledge, and generosity, I was able to transform my bathroom into a space that gives me joy! Working on this décor project with Milton & King has been nothing short of amazing! Their team is not only fully responsive to any questions you have about their wallpaper, but they really empower you along the way.
HONORABLE BRAND MENTIONS:
Great Wave Bloom Traditional Wallpaper – ( c/o Milton & King ) I Contemporary Wall Fixtures – Amazon I Bamboo Blinds – Arlo Blinds (Amazon) I Shower Curtain – DD’s Discounts I Matte Black Shower Rod – Amazon I Bohemian Tassel Banner – Amazon I Faux Sheepskin Rug – Amazon I
Be sure to head over to my INSTAGRAM HIGHLIGHTS, for video footage and more insights about the process.



What do you think?